Adding Cisco ACI APIC Switches in a new datacenter
Creating the datacenter
Create a datacenter using metalcloud-cli and yaml file provided as a template. Once file has been modified accordingly run the following command (changing “insertdatacentername” with datacenter name)
# metalcloud-cli datacenter create --config insertdatacentername.yaml --format yaml --id insertdatacentername --title "insertdatacentername" --return-id
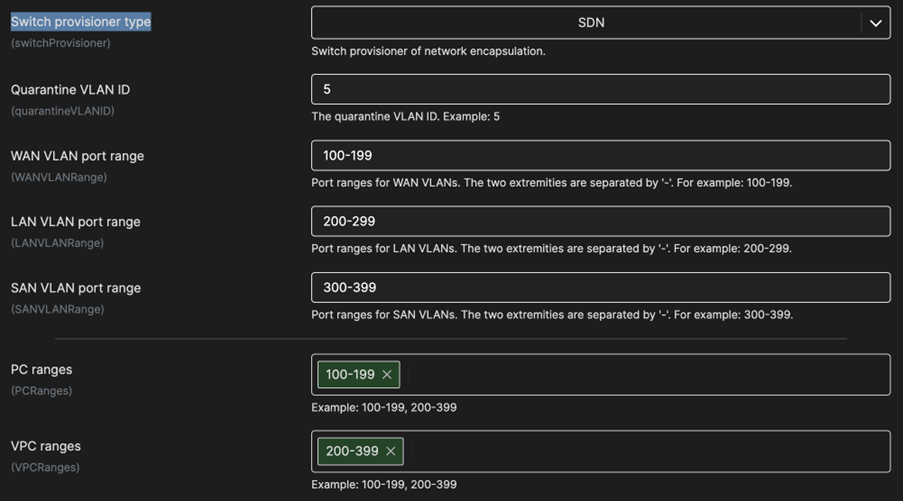
Make sure you have set the correct driver on the Datacenter Configuration page. For Cisco ACI SDN must be set as Switch provisioner type. Make sure to double check all Network settings after the Switch provisioner type dropdown are correct.
Adding ACI Switch Controller
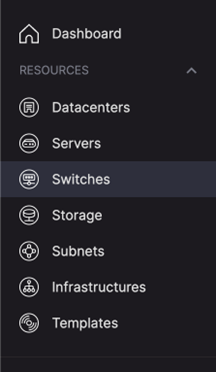
Using UI
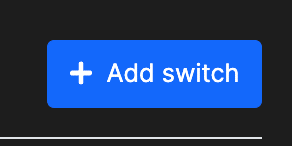
• Press the Add switch button located on the upper right side of the switches page.
• Go through the form, leave everything but fill in these fields.
Management address / network_equipment_management_address – IP of APIC Controller
Management username / network_equipment_management_username – Username for APIC controller
Management password / network_equipment_management_password – Password for APIC Controller User
Country / network_equipment_country
City / network_equipment_city
Datacenter (ext) / network_equipment_datacenter
Datacenter room / network_equipment_datacenter_room
• Press Add switch button, and that will automatically get all switches from the APIC Controller
Using metalcloud-cli
Install metalcloud-cli v3.3.2 or higher from here
Create a configuration yaml file of the switch controller named switch_controller.yaml changing datacenterName, managementAddress, managementUsername, managementPassword and primaryWANIPv6SubnetPool.
The IPv6 can be any dummy IPv6 subnet.
identifierString: Cisco ACI
description: Cisco ACI controllern
datacenterName: test-aci
provisionerType: sdn
provisionerPosition: leaf
driver: cisco_aci51
managementAddress: 10.255.239.150
managementProtocol: ssh
managementPort: 22
managementUsername: admin
managementPassword: password
managementMACAddress: 00:00:00:00:00:00
primaryWANIPv6SubnetPool: fd1f:8bbb:56b3:2000:0000:0000:1000:0000
primaryWANIPv6SubnetPrefixSize: 53
primarySANSubnetPool: 100.64.0.1
primarySANSubnetPrefixSize: 21
primaryWANIPv4SubnetPool: 172.24.4.0
primaryWANIPv4SubnetPrefixSize: 22
quarantineSubnetStart: 172.16.0.0
quarantineSubnetEnd: 172.16.0.255
quarantineSubnetPrefixSize: 24
quarantineSubnetGateway: 172.16.0.1
requiresOSInstall: false
isBorderDevice: false
isStorageSwitch: false
networkTypesAllowed:
- wan
- quarantine
• Run the following command (make sure environment variables are set for metalcloud-cli) where switch_controller.yaml is the file that you just created.
# metalcloud-cli switch-controller create --format yaml --raw-config ./switch_controller.yaml --return-id
• Once created, to see it you can use the following command (where 5 is the controller ID)
# metalcloud-cli switch-controller get --id 5 --format yaml --raw
Add WAN subnet pool
Go to Subnets on the left-hand side menu of Admin UI
Click Add WAN subnet pool on the upper right side.
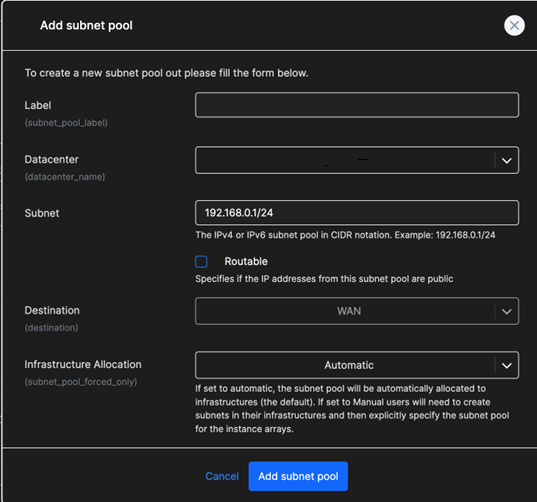
You can use any desired Label.
Select Datacenter onto which you would like to create a new WAN Subnet
Fill in the Subnet.
Leave rest of fields as they are and click on the Add subnet pool button.
Add OOB subnet pool.
Go to Subnets on the left-hand side menu of Admin UI
Click Add OOB subnet button on the upper right side.
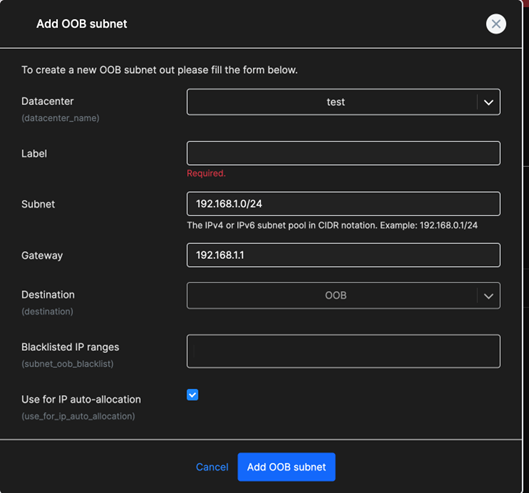
Select Datacenter onto which you would like to create a new OOB Subnet
Fill in the Subnet and Gateway
Add any blacklisted ranges in needed.
Click the Add OOB subnet button to create the new subnet