Managing custom ISO’s
Custom ISO’s are links from an http storage to the Metalsoft controller which will allow a user to be able to boot a server from a custom ISO via the console. In this tutorial, we will provide an example of creating a custom ISO via the Metalcloud CLI and then booting the custom ISO from the UI as a user
Management of the custom ISO is performed via the Metalcloud CLI. You can download the Metalcloud CLI here: https://github.com/metalsoft-io/metalcloud-cli
To list custom ISO’s:
custom-iso list List custom ISOs. (alternatively use “iso ls”)
--no-color		(Flag) Disable coloring.
--user-id		The user ID for which to list the custom iso. Defaults to the current user.
To create a custom iso:
custom-iso create Creates a custom iso. (alternatively use “iso new”)
--display-name	The custom iso's display name
--label		(Required) The custom iso's label
--no-color		(Flag) Disable coloring.
--password	Password to authenticate to the http repository
--return-id		(Optional) Will print the ID of the created object. Useful for automating tasks.
--url			(Required) The custom iso's location (http/https URL)
--username	Username to authenticate to the http repository
To modify a custom iso
Only the following columns can be updated using this function: [“custom_iso_display_name”,”custom_iso_access_url”,”custom_iso_access_username”,”custom_iso_access_password”,”custom_iso_type”]:
custom-iso update Update a custom iso. (alternatively use “iso edit”)
--display-name	The custom iso's display name
--id			(Required) The custom iso's id or label
--label		(Required) The custom iso's label
--no-color		(Flag) Disable coloring.
--password	Password to authenticate to the http repository
--return-id		(Optional) Will print the ID of the created Object. Useful for automating tasks.
--url			(Required) The custom iso's location (http/https URL)
--username	Username to authenticate to the http repository
To delete a custom iso:
custom-iso delete Delete a custom iso. (alternatively use “iso rm”)
--autoconfirm	(Flag) If set it will assume action is confirmed
--id			(Required) The custom iso's id or label
--no-color		(Flag) Disable coloring.
To boot a server from a custom ISO
custom-iso boot-on-server Boot a custom iso on a server. (alternatively use “iso boot”)
--autoconfirm	(Flag) If set it will assume action is confirmed
--id			(Required) The custom iso's id or label
--no-color		(Flag) Disable coloring.
--return-id		(Optional) Will print the ID of the created Object. Useful for automating tasks.
--server-id		(Required) The server id
To create a custom ISO
Metalcloud-cli custom-iso create --label “Deb_11_Live” --url “https://mydomain.com/iso/debian/debian-live-11/6.0-amd64-standard.iso”
Once the ISO link has been created, the user can then mount the ISO either from the CLI using “metalcloud-cli custom-iso boot-on-server” or from the UI.
To mount the ISO from the UI, the user would need to log into the Infrastructure Designer, click on the Instance-Array and then click on “Remote Console”:

This will launch the VNC remote console in a new window. From here, you can click on “Custom ISO: none” on the top right hand side and select the ISO:

You will receive a message asking if you would like to mount the ISO:
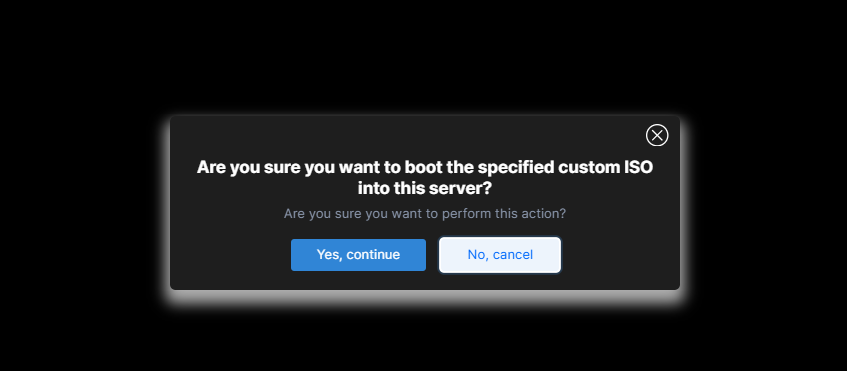
When you click “Yes, continue”, this will mount the custom ISO via the BMC for next boot. Please be aware, it will take 5-10 minutes to upload the ISO to the servers BMC.
To boot the custom ISO, reboot from the OS.
You can check the status in the VNC console.
Once you have finished with the custom ISO, just reboot to disconnect the ISO from the BMC