

Connecting to Windows servers through RDP
As soon as the deploy of an infrastructure is completed, the servers are powered up and you can connect to them remotely using the Remote Desktop protocol.
Depending on the operating system on your computer, there are multiple ways to use RDP. While Windows includes a Remote Desktop Connection client, Linux users may need to install a third-party Remote Desktop Connection client (either search your package store for the console based rdesktop or search your package store for a GUI based application). MacOS users can download the Microsoft-provided Remote Desktop Connection client from the app store by searching for Microsoft Remote Desktop.
Locating access credentials
Section titled “Locating access credentials”-
In the MetalSoft Infrastructure Designer, click the Instance Array widget of the instance you want to connect to.
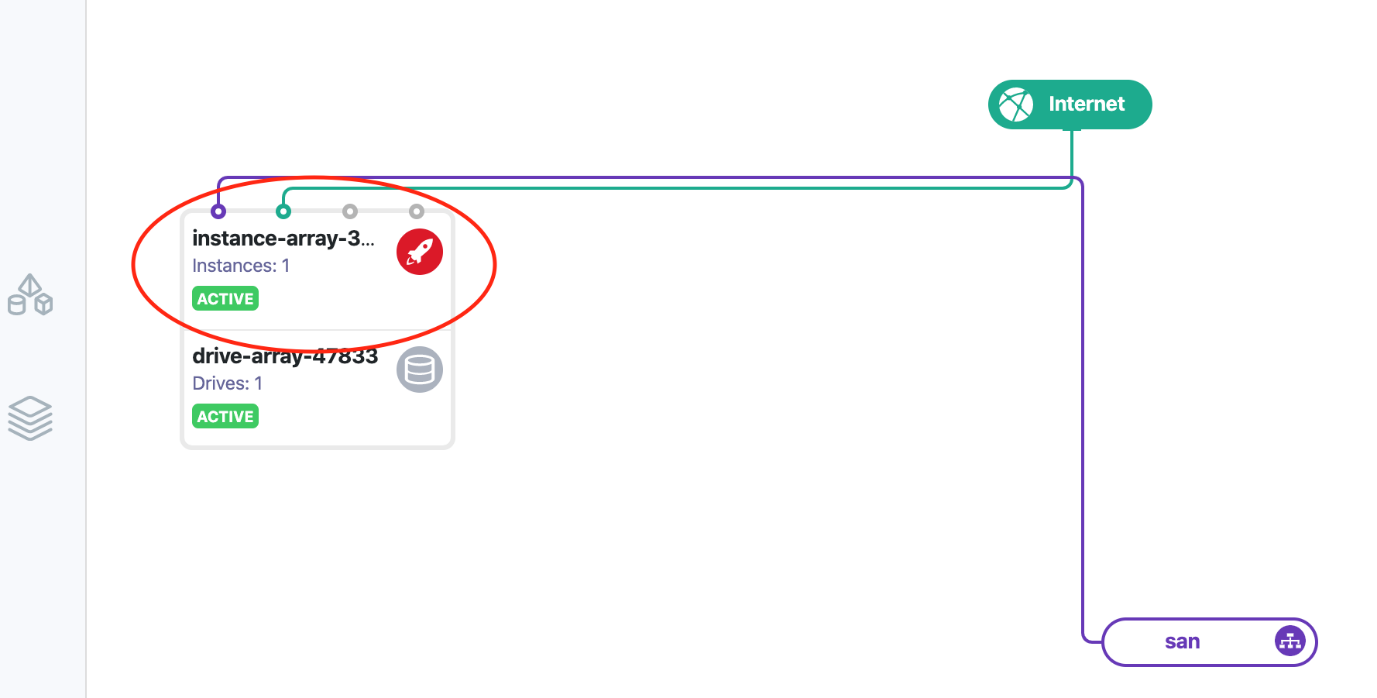
-
This opens the Instance Array overview window, with a list of the servers (instances) in the array.
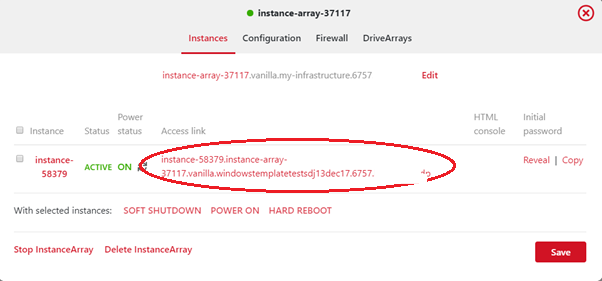
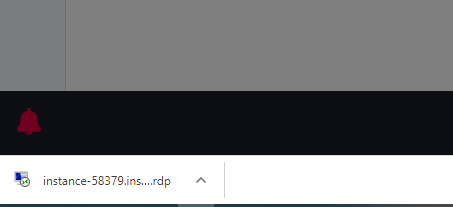
- If you have an RDP application configured, click the RDP Access link to download the RDP file. Click the downloaded file to launch your default RDP application.
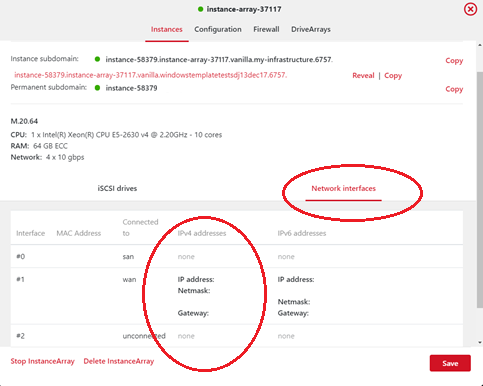
Alternatively, click the instance name, then click Network interfaces below it, and copy the IPv4 Address to paste directly into your client.
- The initial RDP password for the root account is found in the column to the right.

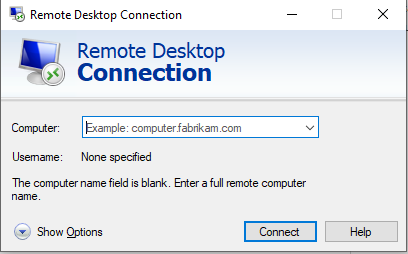
- If you copy the IP address rather than opening the file, paste the IP address from the Network interfaces column into the application’s Computer field. Leave the other settings unchanged and click Open.
-
When prompted for the username in the terminal emulator, enter Administrator.
-
Copy the initial password and paste it when asked.
-
You are now connected to the server with Administrator privileges and can administrate it remotely.
MetalSoft recommends restricting access to RDP by IP address in the Windows Firewall. If this is not possible, you can change the port for RDP in the registry (https://docs.microsoft.com/en-us/windows-server/remote/remote-desktop-services/clients/change-listening-port).
Restrict RDP access by IP address
If you want to restrict Remote Desktop access to your Dedicated server to an IP address or range of IP addresses, do so by following the instructions below.
Edit existing firewall rule
Connect to your server via RDP
Section titled “Connect to your server via RDP”Open Windows Firewall with Advanced Security.
Click Inbound Rules in the left pane.
Locate your RDP rule
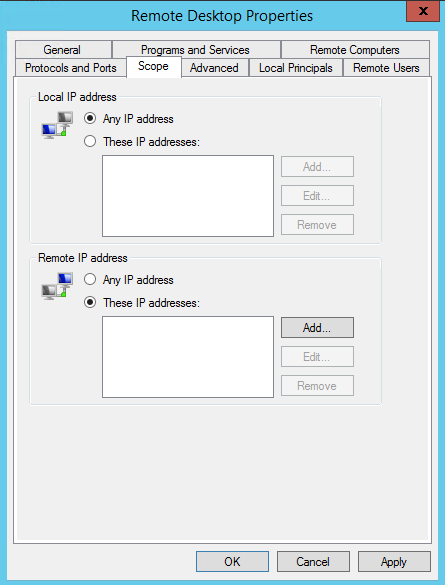
Section titled “Locate your RDP rule”Right-click the rule, go to Properties, and switch to the Scope tab.
Creating your IP restrictions
Section titled “Creating your IP restrictions”The Scope tab is where you add the IP addresses and ranges you want to access your server.
In the Scope tab, edit the Remote IP Address section.
Click the radio button next to These IP Addresses.
Then click Add…
If using a single IP Address, type it in the top text field, then click OK.
For every additional single IP Address, repeat Steps 3 & 4.
If you need to add an IP Range, click the radio button next to This IP range.
Type the start of the range in the From field, and the end of the range in the To field.
For every additional range, repeat Steps 6 & 7.
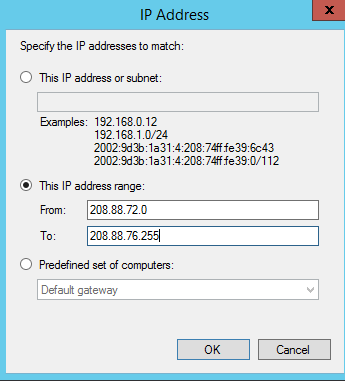
After adding every desired IP Address, click the OK button to finalize the changes.
Once you finalize the changes, you can test the rule by attempting to RDP to the server using an IP outside of the desired ranges. If it fails to connect, the rule is successful.